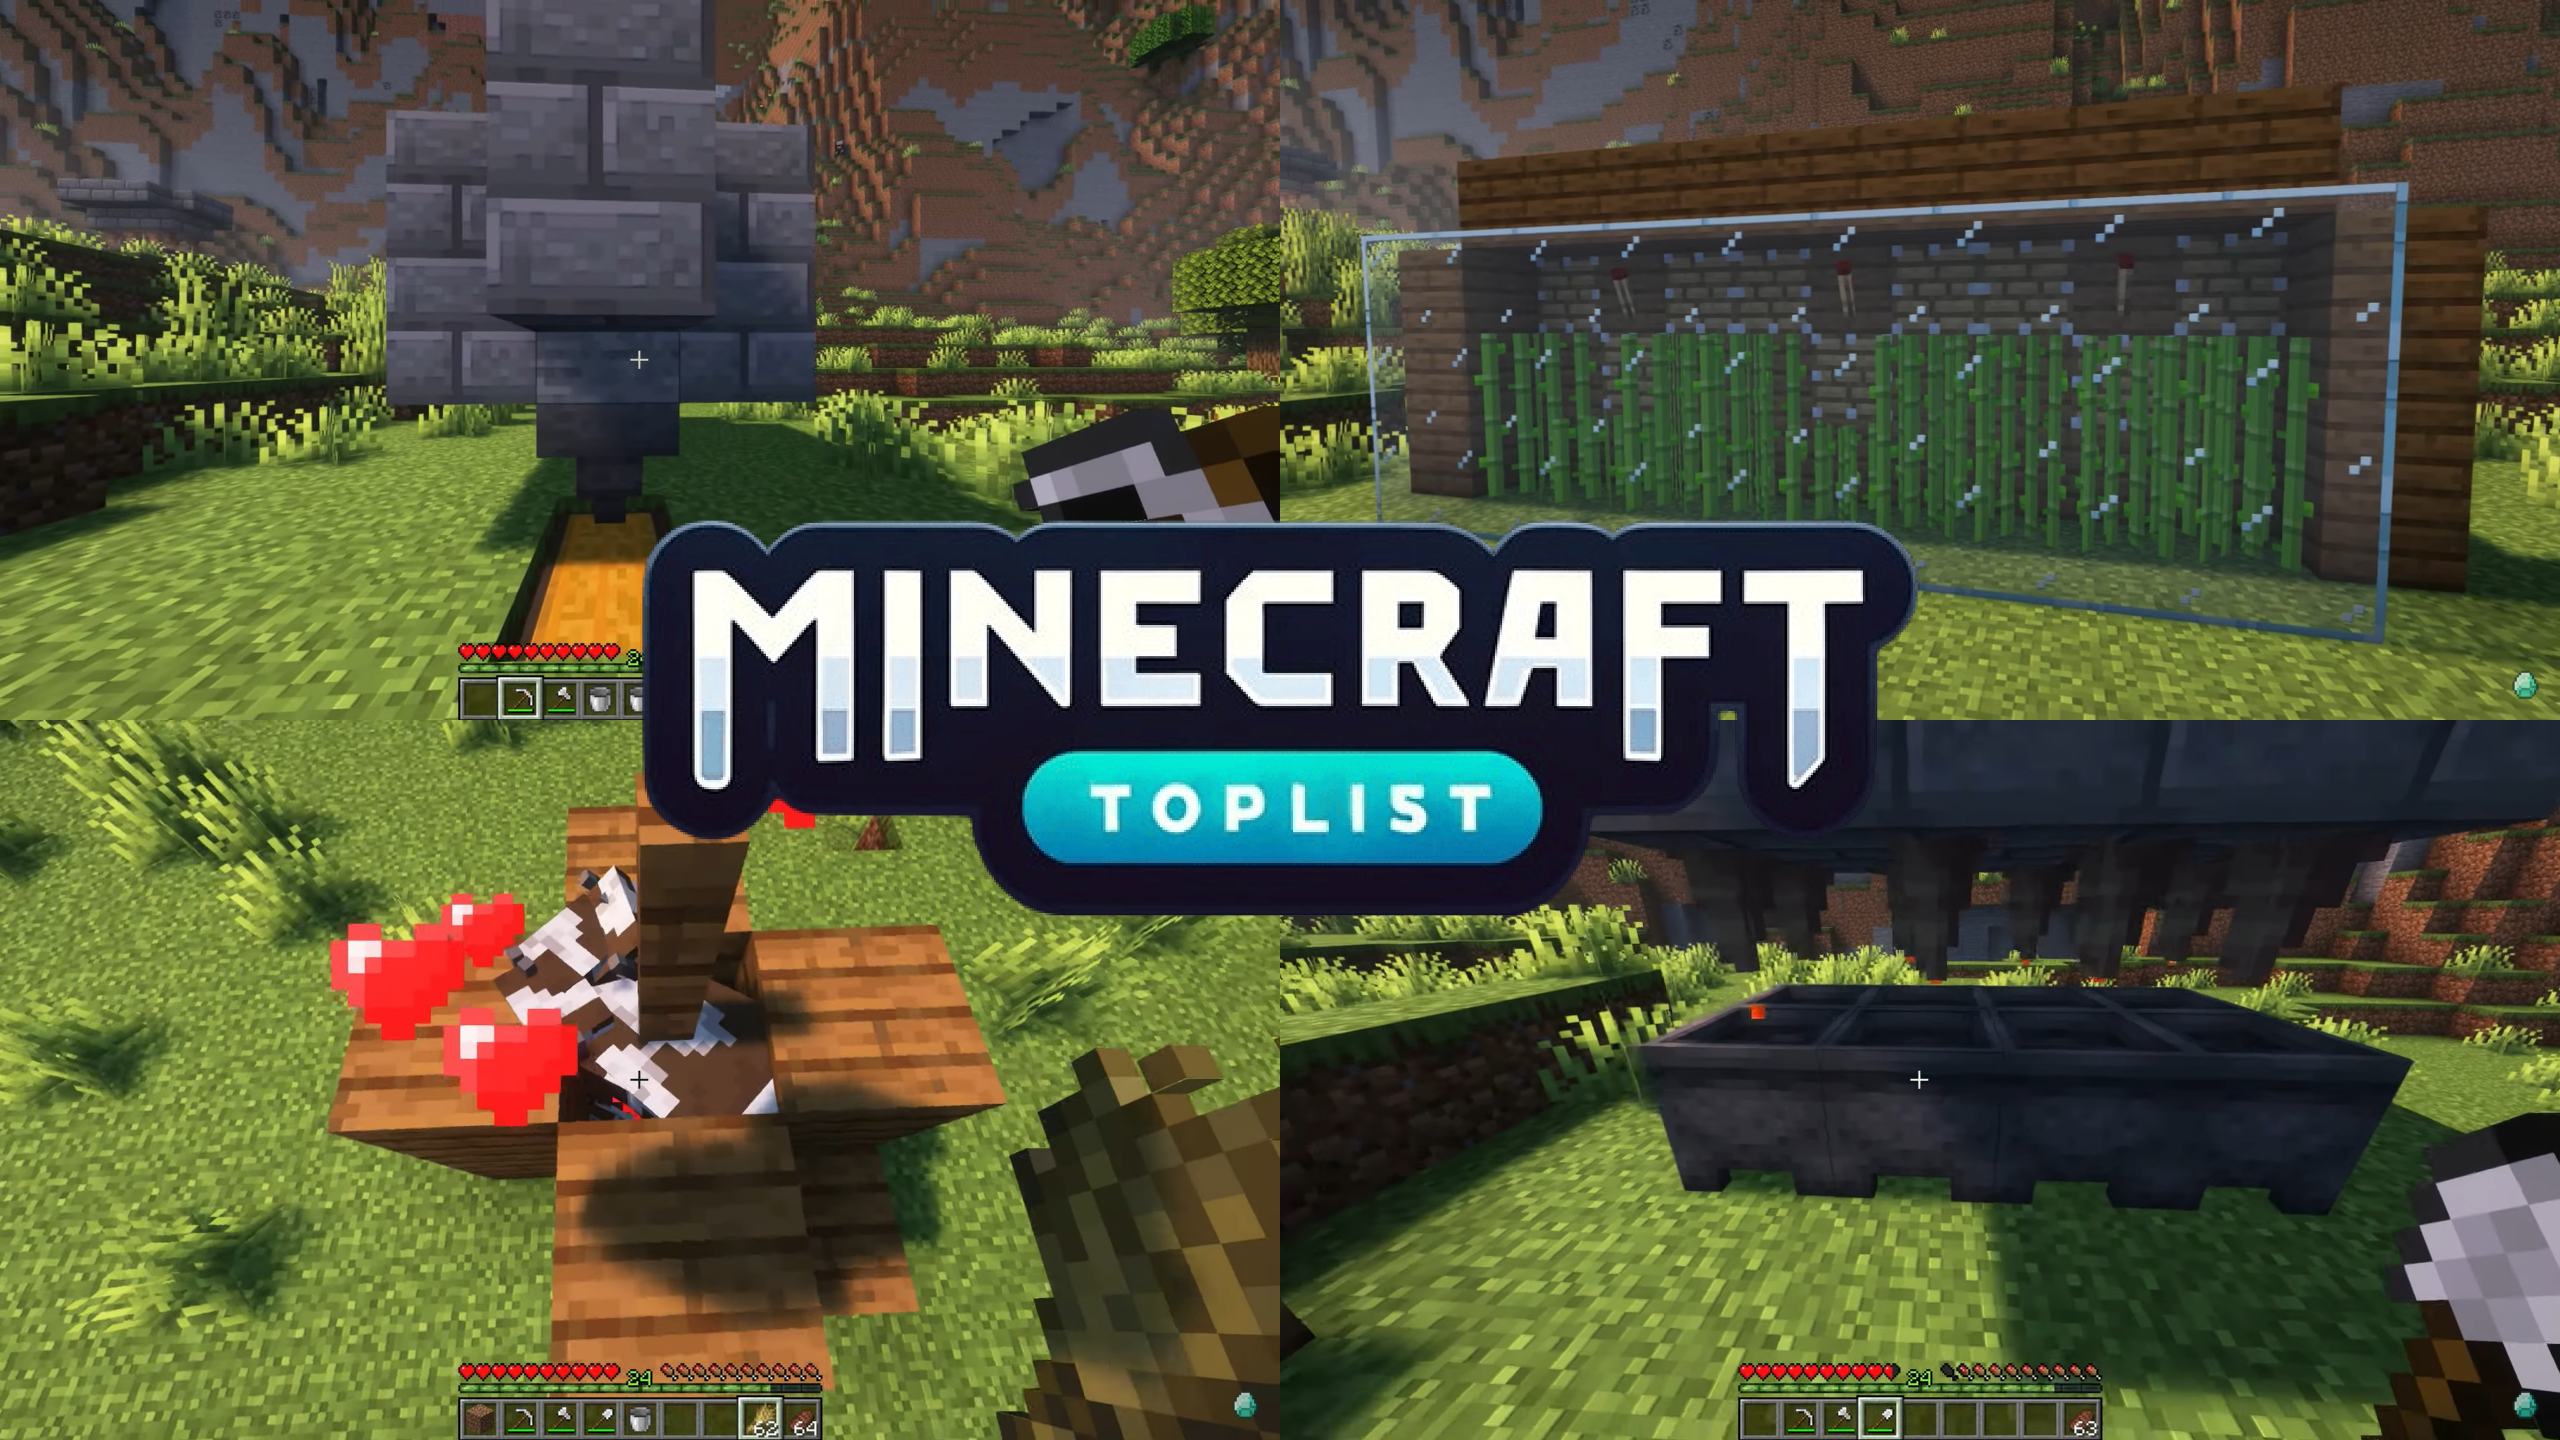
Kickstart your Minecraft survival with these best starter Minecraft farms!
When playing Minecraft, having a steady supply of essential resources is what matters most in order to survive, whether you are playing just by yourself or with friends. Collecting these resources manually can consume much of your time, and this is where farms come into play.
Creating a few simple farms will guarantee a steady flow of the basic five resources: fuel, food, blocks, sugar cane, and iron. These farms require a bit of a time investment but will save you many hours that could be used collecting more precious resources and exploration in your Minecraft world.
Serving you the 5 Best Starter Farms in Minecraft you can build right away, plus a step-by-step guide on how to craft them. You can check out our best survival seeds list where building all these farms would be all the more worth it.
Table of Contents
ToggleBest Starter Minecraft Farms
1. Lava Farm (Fuel)

Starting with the Lava farm, which makes my Minecraft game less of a hassle, as it is not only simple to build but also very effective in many ways. Lava can smelt up to a hundred items per bucket, making it excellent as fuel. With the introduction of new blocks, even beginners can effortlessly build a lava farm. It’s a great alternative to coal, smelting many more items.
How to Build a Lava Farm in Minecraft:
Materials Needed:
– 9 cauldrons, Blocks (e.g., dirt or any full block), Trapdoors (8), and Lava buckets (8)
Step 1. Find a flat area to build your farm. Place 9 cauldrons in a 3×3 grid.
Step 2. Above the cauldrons, create a 3×3 platform using blocks, leaving the center empty.
Step 3. Attach a trapdoor to the side of each block on the platform and close them.
Step 4. Place lava on top of each block on the platform except the center one.
Step 5. Ensure lava drips into the cauldrons. Wait for the cauldrons to fill with lava. Collect the lava with buckets as needed.
2. Automatic Cow Crusher (Food)

This farm worked wonders for me and now I don’t worry about running out of food in Minecraft. The cow crusher is highly efficient and easy to build, requiring only a few materials. This automated design allows you to breed cows until they reach the entity cramming limit of 24. Once that number is reached, the cows will be crushed automatically. Cows provide steak, which is one of the best food sources in the entire game. Steak has excellent hunger saturation.
How to Build a Cow Crusher in Minecraft:
Materials Needed:
– 2 cows, Wheat (to breed cows), Chest, Hopper, Slab, Temporary blocks, Fence, and Water bucket
Step 1. Find a flat area to build your cow crusher.
Step 2. Dig two blocks down and place a chest. Attach a hopper to the back of the chest (crouch to avoid opening the chest).
Step 3. Place a temporary block above the hopper and put a slab in front of it. Remove the temporary block and build up around the hopper. Place another temporary block to assist with cow placement.
Step 4. Lure cows into the hole one by one using wheat. Once both cows are inside, place a fence to keep them in place and remove the temporary block.
Step 5. Crouch and place a water bucket on top of the hopper to push the cows.
Step 6. Hold wheat and right-click to breed cows. When you reach 24 cows, entity cramming will begin, and drops will go into the chest.
3. Automatic Cobblestone Generator (Blocks)

Before, I thought having an automatic cobblestone or stone generator in my Minecraft world was pretty useless; however, it became extremely useful along the way. It allows you to gather stacks of cobblestone or stone in minutes. Cobblestone generators are essential in the “Skyblock” game mode, where resources are scarce. Once your generator is set up, you can mine endlessly without running out of cobblestone.
How to Build a Cobblestone Generator in Minecraft:
Materials Needed:
– 5 lava buckets, 1 chest, 5 hoppers, Temporary blocks, Stairs (5), Solid blocks, Slab, and Water buckets (5)
Step 1. Find a flat area with enough space for your generator.
Step 2. Dig two blocks down and place a chest. Crouch and attach five hoppers leading into each other, starting from the chest.
Step 3. Place temporary blocks on either side of the first hopper and place stairs facing inward. Connect with three more stairs in the middle. Place another temporary block at the end, and solid blocks behind the hoppers.
Step 4. Place a temporary block and a slab on the upper half of the block nearest the chest. Waterlog the five stairs. Build up the solid blocks around the structure.
Step 5. Pour five lava buckets into the space created by the solid blocks. The generator is now ready to use.
Step 6. Stand on top of the chest, crouch, and mine the cobblestone or stone.
4. Sugarcane Farm

A simple automatic sugarcane farm that is ideal for beginners and does not need observers. It assists in collecting the large quantities of sugarcane necessary for a complete enchanting setup. The farm operates by harvesting sugarcane when it reaches a height of three blocks.
How to Build an Automatic Sugarcane Farm in Minecraft:
Materials Needed:
– Sugarcane, Double chest, Hopper, Rails (regular and powered), Redstone torches, Minecart with hopper, Dirt or sand, Water bucket, Pistons, Redstone dust, Solid blocks (e.g., spruce planks), and Glass blocks
Step 1. Find a flat area for the farm. Dig three blocks down and two blocks wide for the center. Place a double chest and a hopper leading into it.
Step 2. Dig four blocks on either side of the hopper and replace them with solid blocks.
Step 3. Place powered rails at each end with a Redstone torch towards the chest. Then, lay regular rails in between and place a minecart with a hopper on the rails.
Step 4. Place dirt or sand above the hopper for the sugarcane. Dig a trench behind the dirt/sand for water and plant the sugarcane.
Step 5. Place temporary blocks behind the sugarcane, then add a row of solid blocks. Place pistons in the center of each three-block section.
Step 6. Place Redstone dust on the solid blocks behind the pistons. Ensure Redstone torches activate the pistons.
Step 7. Enclose the front with glass or solid blocks. Fill the sides and top with solid blocks to complete the structure.
5. Iron Farm

Iron Farm is one of the best farms in Minecraft I’ve ever had that could even be more valuable than diamonds–making it my top favorite. This farm is very easy to build and can be created at any stage of your game. The farm provides a steady supply of iron for your entire game, making it a favorite for speedrunners and anyone needing a reliable source of iron.
How to Build an Iron Farm in Minecraft:
Materials Needed:
– Any type of wood, Beds (3), Slabs (2), Trapdoors (2), Torches, Empty boat, Chest, Signs, Water, and Lava
Step 1. Find a large, flat area. Clear out any protrusions.
Step 2. Dig a 3-wide trench that is 7 blocks deep. Dig out a 3×3 room at the bottom and place 3 beds inside.
Step 3. Place 2 slabs on the lower halves of two blocks. Put a trapdoor on the upper half of the middle block and close it.
Step 4. Dig out six blocks in front and six blocks behind. Dig out 2 blocks up and 2 blocks down. Place a torch inside to prevent mob spawning.
Step 5. Place an empty boat in the room. Create a staircase back to the surface, placing torches on every other step.
Step 6. Dig a trench starting one block away from the villager hole, 5 blocks long. Dig 8 more blocks towards the trapdoors. Place a chest at the end and hoppers leading into it.
Step 7. Flatten out the area and place water in each corner, ensuring it flows towards the hoppers. Place signs to create a V-shape and pour lava, ensuring it’s held by the signs but allows iron golems to pass through.
Step 8. Funnel villagers down to the beds. Guide the zombie to the trapdoors and into the boat. Lastly, ensure an iron golem spawns instantly, indicating the farm works.
Conclusion
I believe that this time you are fully equipped to start your Minecraft journey using these valuable 5 best starter Minecraft Farms. They can make your game more fun and easy. With these handy farms in your toolkit, your gaming experience is about to get a whole lot smoother.
So, spend your time wisely crafting these setups, and you’ll soon find yourself with plenty of resources at your fingertips. If you want more superb guides like these, make sure you check out Minecraft.eu.


